

This time I’ll discuss how to run a PHP project using XAMPP. This article is a continuation of the previous one, How to Install XAMPP on Windows.
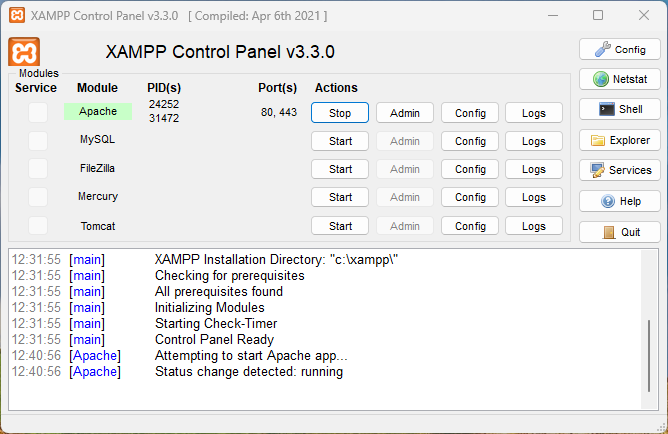
Without further ado, let’s get straight to it by opening the XAMPP control panel as shown below.

Then start Apache as the web server, along with the PHP that comes bundled inside it.
After that, open your favorite browser — Firefox, Chrome, or Edge — and enter http://localhost in the address bar, as shown below, and the XAMPP welcome page will appear.
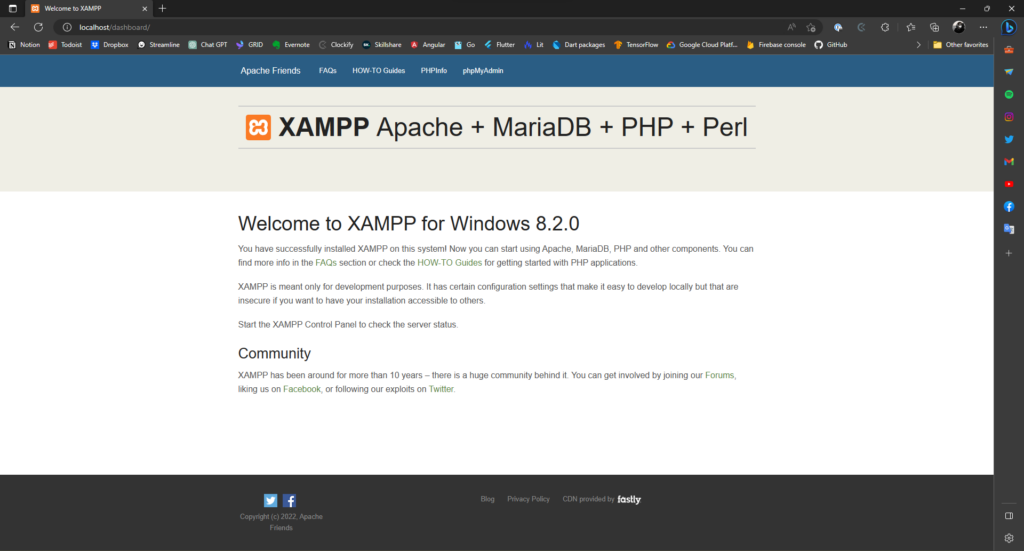
That page appears because, by default, Apache in XAMPP points http://localhost to the directory C:\Xampp\htdocs\dashboard\index.html
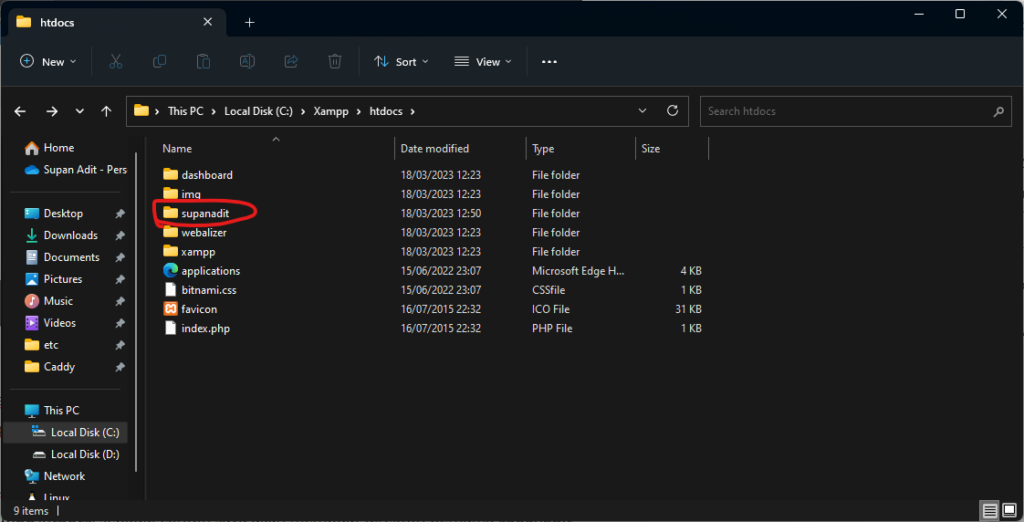
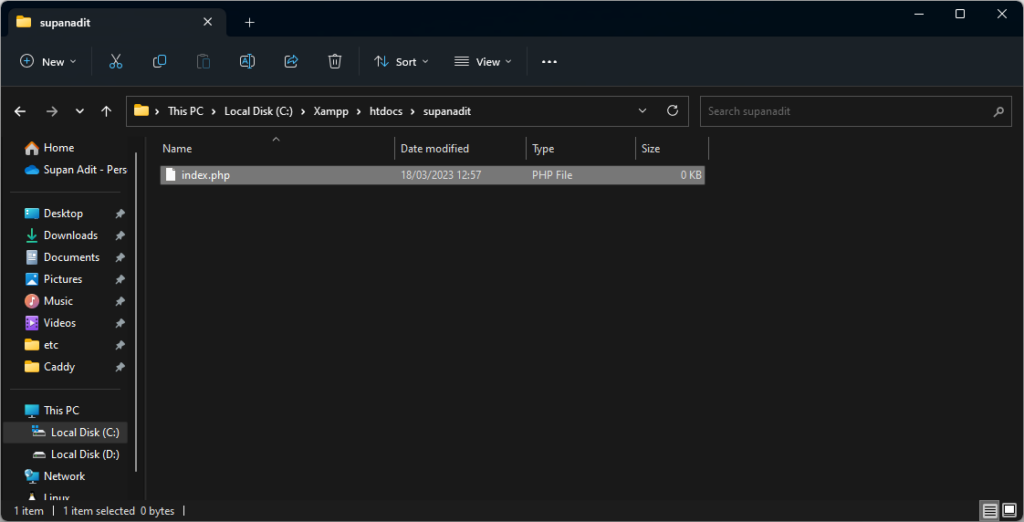
To start a PHP project, you can create your own directory inside C:\Xampp\htdocs. As an example, I’ll create a directory named supanadit, as shown below
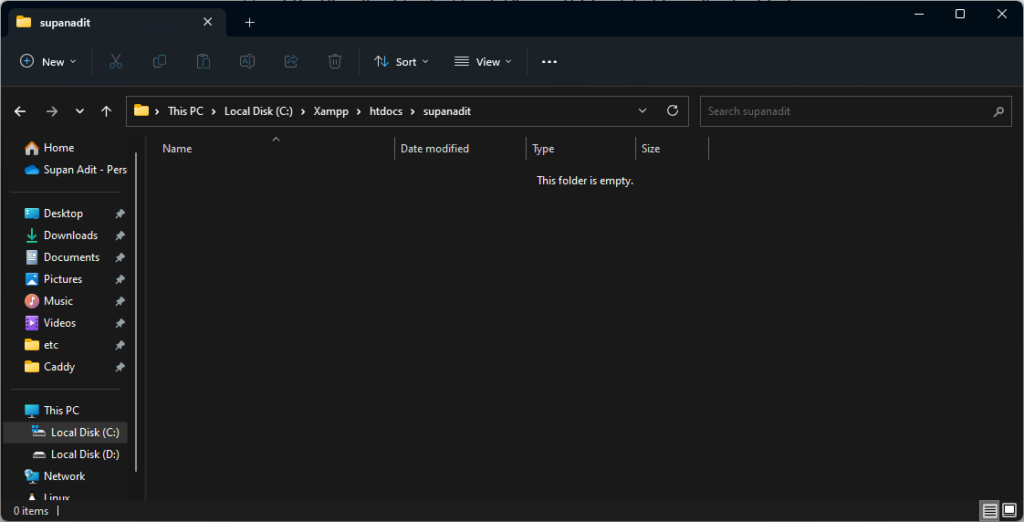
If you go into that directory, it will be empty like this
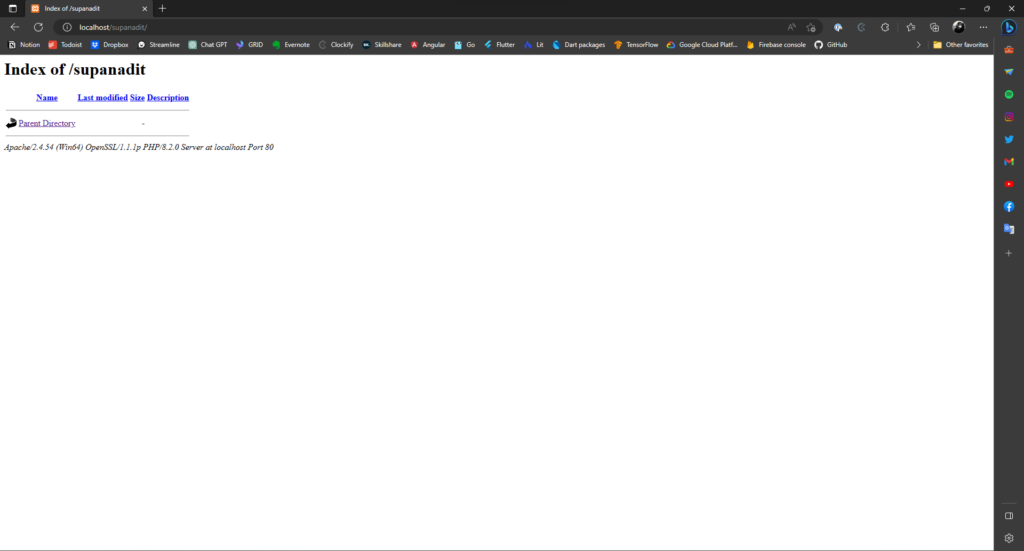
From here you can already open your project in the browser at http://localhost/<project-name> — in this example, http://localhost/supanadit, where supanadit is the name of the directory you created. When you open it in a browser it will look like the image below — still empty.
Next, create an index.php file in that directory, as shown below.
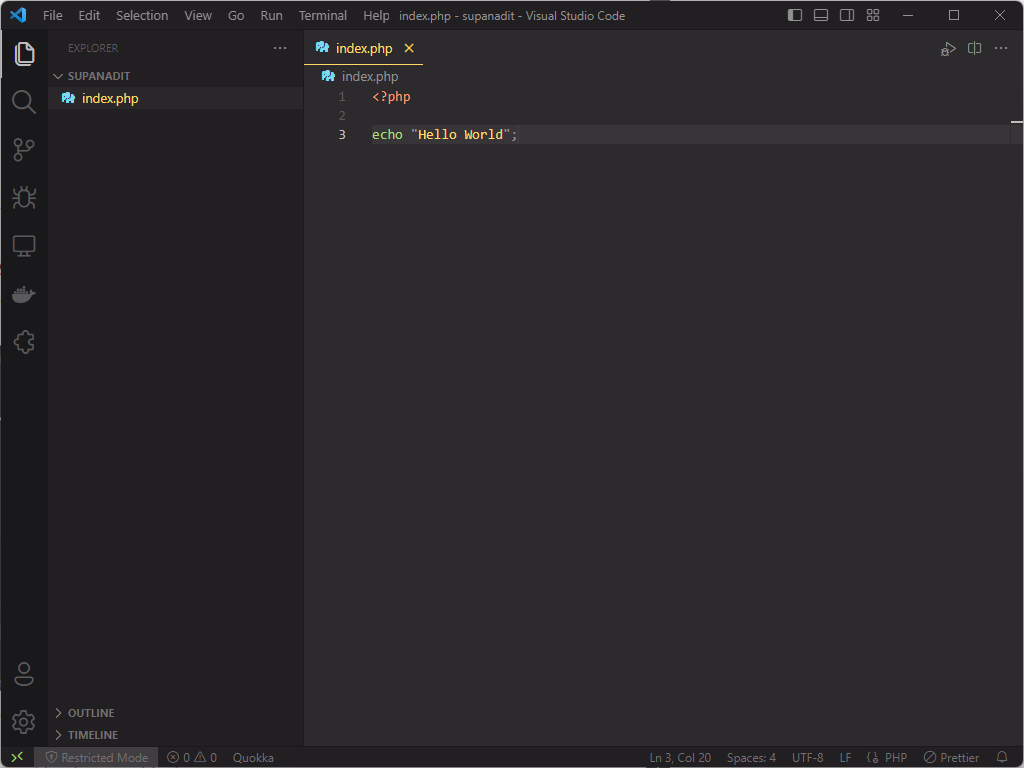
Then edit that file with a text editor — my favorite is Visual Studio Code, so I’ll use it to fill the file with a simple snippet, as shown below.
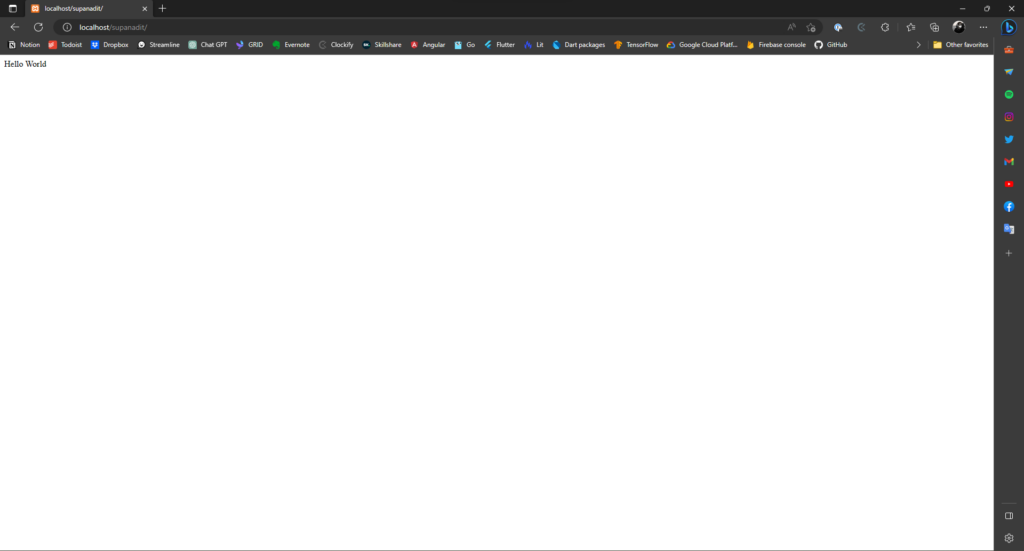
After that, go back to the browser and open http://localhost/supanadit — you’ll see a page like the one below.
And that’s how you run a PHP project on XAMPP. There are still a few other ways to run PHP projects on XAMPP — especially with frameworks like Laravel, CodeIgniter, etc. — since each framework sometimes has a different configuration approach when implemented with a web server.
Next, you can learn the basics of PHP, which will be coming soon on this blog.